Showing posts with label DIY. Show all posts

Wednesday, October 27, 2010

DIY Goodness: DVF Inspired Floral Hair Pins

I'm a sucker for hair candy. So falling for these ultra femme Diane Von Furstenberg hair pins was a no brainer. Von Furstenberg's hair candy gives off a regal Grecian vibe mixed with a playful punch that's right up my alley! - With a few basic supplies on hand, I decided to take the concept and put my spin on it. 

The project took about an hour to complete and came out pretty nice. They weren't DVF, but they were amazing nonetheless. Floral hair-pins are extremely versatile in that they can spruce up a bad hair day or add the perfect touch to a TWA!
DVF Inspired Floral Hair-Pins
You Will Need:
  • 3 Different colors of scrap fabric
  • Scissors
  • Glue Gun
  • Blank Snap-On Hair Clips [purchased these at Joann's in the jewelry supply isle]
  • Needle/Thread
  • Hand drawn flower pattern [or I am sure you can locate a pattern like this one]
Prep your materials:
 I just drew a basic flower, nothing fancy!

1] Draw your "floral stencil" on a sturdy sheet of paper [I used an old manila file folder]
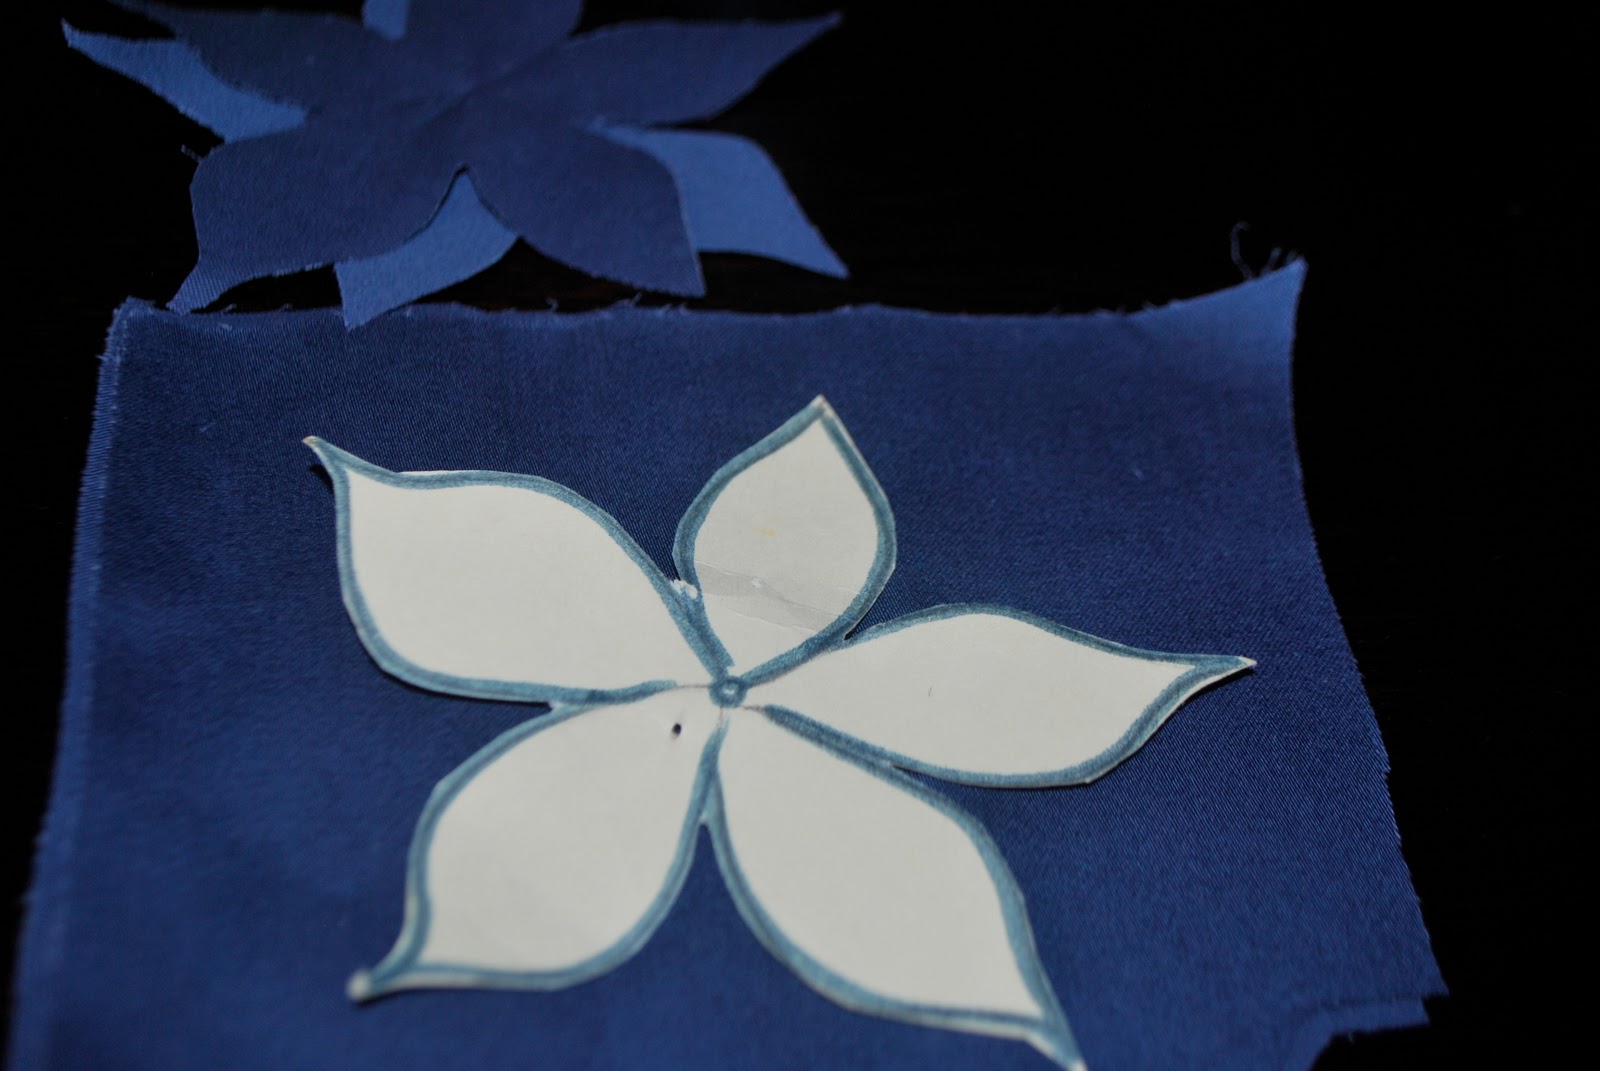
Here is my stencil pinned to the fabric
cut out 8 of each color

2] Cut out stencil. Pin your stencil to the fabric and cut out 8 flowers in each color 
I used the base of a glass to make this circle

3] Make a circle about 1 inch wide on a sturdy sheet of paper 
4] Pin your stencil to the fabric and cut out 8 individual circles in two of the three colors 

Assemble the floral hair pins [each cluster uses 4 of each color]:
1] Stagger 8 [use four of each color] flowers on top of each other so that they slightly overlap 
2] Fold the entire floral group in half, and secure with a few stitches
3] Fold that same floral group in half once more, then secure it with a few more stitches. Make sure to use sharp scissors, I used my daughter's craft scissors and the ends weren't as crisp as I would have liked.

4] Repeat the same instructions for the second set of floral headpins 

Assemble the second set of floral hair pins [each cluster uses 4 of each color]:
To make the rosette clusters, follow the instructions given in my previous tutorial {here}

Assemble the entire group: 
1] Glue each group on a separate hair pin with a hot glue gun

2] Pin them on your hair!

That's it! Here is the finished product! 


Follow MTM on Twitter | Add MTM on Bloglovin'Like MTM on Facebook 

Monday, August 16, 2010

DIY: The Ruffled Tee


Every time I see these overpriced shirts in stores I think; "I could do that", so I finally decided to break out some old fabric and get to work. This is definitely an instant gratification type project, as you can complete it from start to finish in about 30 minutes.

You Will Need:
1/4yd Fabric - [jersey works best]
Pins
Scissors
Needle/Thread [doesn't matter the color, you won't see the thread anyway]
T-Shirt - I picked up these tees from Forever 21, and they were only $3.80 a piece!
Sewing Machine [optional]
Fabric Glue [optional]


Cut (8) strips of fabric 10 inches long, and 3 inches wide. You will need about (4) strips of ruffles for each shoulder. - I find it easier to cut using a rotary cutter vs scissors! You can find rotary cutters in your local Michael's or JoAnn's.

Fold each strip in half, and sew a running stitch [long stitch] down the center - You can hand stitch or machine stitch

Pull the bobbin thread [the thread at the end of the strip], to ruche your fabric together, this will create your ruffle

Pin your ruffles on your shirt, and hand stitch them in place [you can also use fabric glue]
Place the ruffles as close together as possible to avoid a skimpy look.
Below is another alternative if the whole "wing look" isn't for you. This time I chose to place the ruffles along the neckline!


Follow me on Twitter | Add me on Bloglovin' |    

Friday, May 14, 2010

Quick Pictorial- The Red Lippie

I receive quite a few emails and comments about my red lipstick, so I thought I would dedicate this post to my favorite red lipstick of all time; Ruby Woo by MAC. Here's a quick little pictorial to show you how I apply my lip-color.

[1] Line lip with lip-liner that is brighter than the lipstick you are using. This will make the lipstick P O P more. I am using REDD by MAC.
[2] Fill in your lips w/your lipstick of choice; mine is Ruby Woo [of course] - Don't worry about getting it perfect; you can fill in any areas w/your pencil/lip-color later.

[3] I apply my concealer w/a stiff, flat brush. I use NW45 concealer, and I pat it around the lip area; very close to the lip line.

Be sure and get as close to the lip-line as possible! This will make the color pop even more! Applying it with a brush is much better than applying the concealer w/your fingertips [as far as accuracy is concerned].
That's really all there is to it folks! The addition of the brighter lip liner, and concealer really makes those lips pop; even in darker skin tones like mine! 

Thursday, May 6, 2010

You Pretty Little Things | DIY Fabric Wrapped Hangers

These totally remind me of some over-priced hangers I would find in a store like Anthropologie. They are giving me a very vintage feel that I am quite fond of. - This took about 15 minutes to cover all three hangers, which isn't half bad at all. The best part about this project is that you can watch tv while you are doing it, it isn't some meticulous project that demands all of your attention.

I love these even more because they hold silky fabrics much better than the wooden finish does. To give it more of a vintage feel, I rummaged through some of my scrap quilters fabric and picked delicate florals, and pretty paisley's. You can buy those fat quarters [pictured below] at all Joanns, as well as regular fabric stores. OR you can simply repurpose old clothing, or fabric that's lying around.

You Will Need:
Fat Quarters/Scrap Fabric - Each hanger uses about 5 medium size strips
Glue Gun
Wooden Hangers
Scissors
This was the pattern I chose. To speed up the process, I used a rotary cutter to cut out the strips. As you can see, the strips do not have to be perfect! No need for measuring here.
Start at the top of the hanger, and glue the first piece of fabric down. Begin wrapping the hanger with the fabric, adding glue as necessary to keep the fabric in place.

The hangers do not have to be "perfect". You can leave the frayed edges, or cut them! If you are not a fan of frayed edges, simply spray those areas with a product called Fray Check [a product that keeps unfinished edges from fraying], and let dry for at least an hour before use. Fray Check can also be purchased at your local Joanns or fabric store!

The end result:

Tuesday, April 27, 2010

2 DIY Headbands + Hair Clip | Imagination Is The Beginning of Creation. You Imagine What You Desire, You Will What You Imagine and at Last You Create What You Will - George Bernard Shaw


This is a super quick tutorial; perfect for anyone that wants to skip the long drawn out rigmarole, and get straight to the goods. This is instant gratification at its best.

I found these cool feathers downtown in the fashion district [sorry can't remember the name], and depending on where you snag them; they may be a little pricey [they typically go from $5-10 each]. I bought the headbands and comb from Walgreens, and because I wanted the feather to be the focal point, I used the thinnest headband I could find. 

I made both headbands and comb in under 30 minutes [including photographing them]. Not bad eh?

You Will Need:
Feathers
Glue Gun
Headband
Hair Comb
Some sort of rhinestone accent piece [broken jewelry is perfect for this project]
If you used broken jewelry [or in my case an over-sized button] cut the protruding area in the back off with a pair of wire cutters.
Glue the accent piece near the bottom portion of your feather [I think this is guinea; I used a glue gun FYI]
Apply glue to the headband, and press the feather on top; hold until secure, and glue is dry

Repeat the same steps for the second headband [I decided to forgo the rhinestone on this piece]

Glue your comb onto the third feather [the feather contours to the comb]

Finished Feather Hair Comb :-)

Tuesday, April 13, 2010

Flower Child; Flower Power - DIY Headband

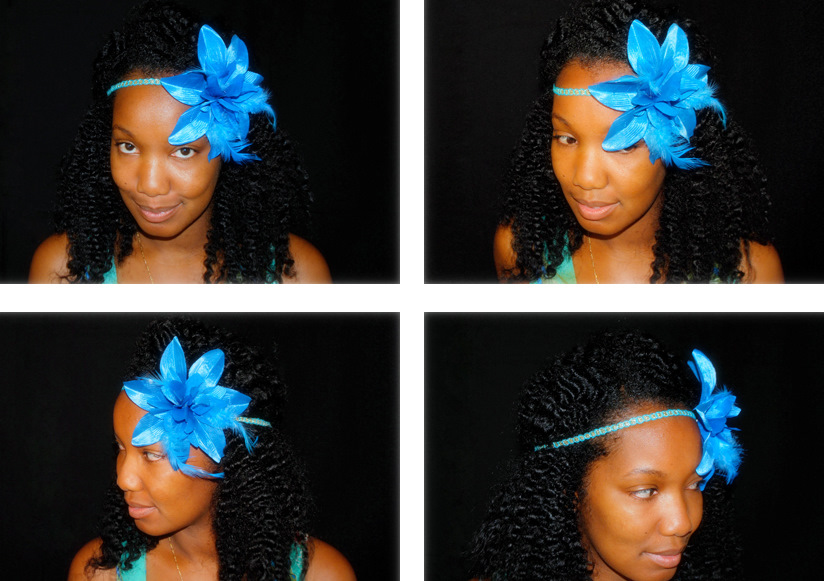
This headband is too simple for words. It's also very sweet. Big flowers on your hair can sometimes be obnoxious, but sometimes they can be quite soft, and feminine. I definitely wouldn't wear this all the time, but on that hot sunny day this is more than likely the headband that I will reach for.

You can buy these big flowers at almost any craft store, however they are much cheaper at stores like Big Lots, or Wal Mart in the floral department. The "band" that's around my head is a stretchy piece of trim, it's very soft so it doesn't even feel like I am wearing anything. I also made the back of the headband adjustable, this way I can expand it if my hair is big, or tighten it if I am wearing a bun.

To complete this project; you will need;
- 1 Big Flower
- 2 End Caps [Jewelry Making Supplies]
- Glue Gun
- 1/2 Yard of Trim
- 3 Open Jump Rings
- 1 Large Lobster Clasp
- 1/4 Foot Extender Chain
- Wire Cutter


    Cut away any protruding pieces of metal from the back of your flower.
   This is what mine looks like after cutting;
   Now take a little bit of glue and glue the trim across the back of the flower [on the metal piece only]
   Take the end caps, and glue each end of the trim inside of them. Like so;
  Hook your jump rings to both sides of the trim, then connect your chain. Attach your lobster clasp to one  end of the chain.

Here is what the back of the headband looks like. Notice how the chain makes it adjustable.


Followers

Search This Blog